As a facilitator, I prepare in-person workshops in many ways, some ways are more deliberate, some less. For example, I think about how the room looks like, the layout of the chairs or tables if any. I make sure that we have enough whiteboards, posters, sticky notes, and pens for everyone to work within the chosen methodology of the workshop setting. I think about the agenda when to take a break, the outcome of the workshop and many more.
Nevertheless, I have observed that there are some other things that I don’t intentionally think about, but that help me set the stage of the workshop:
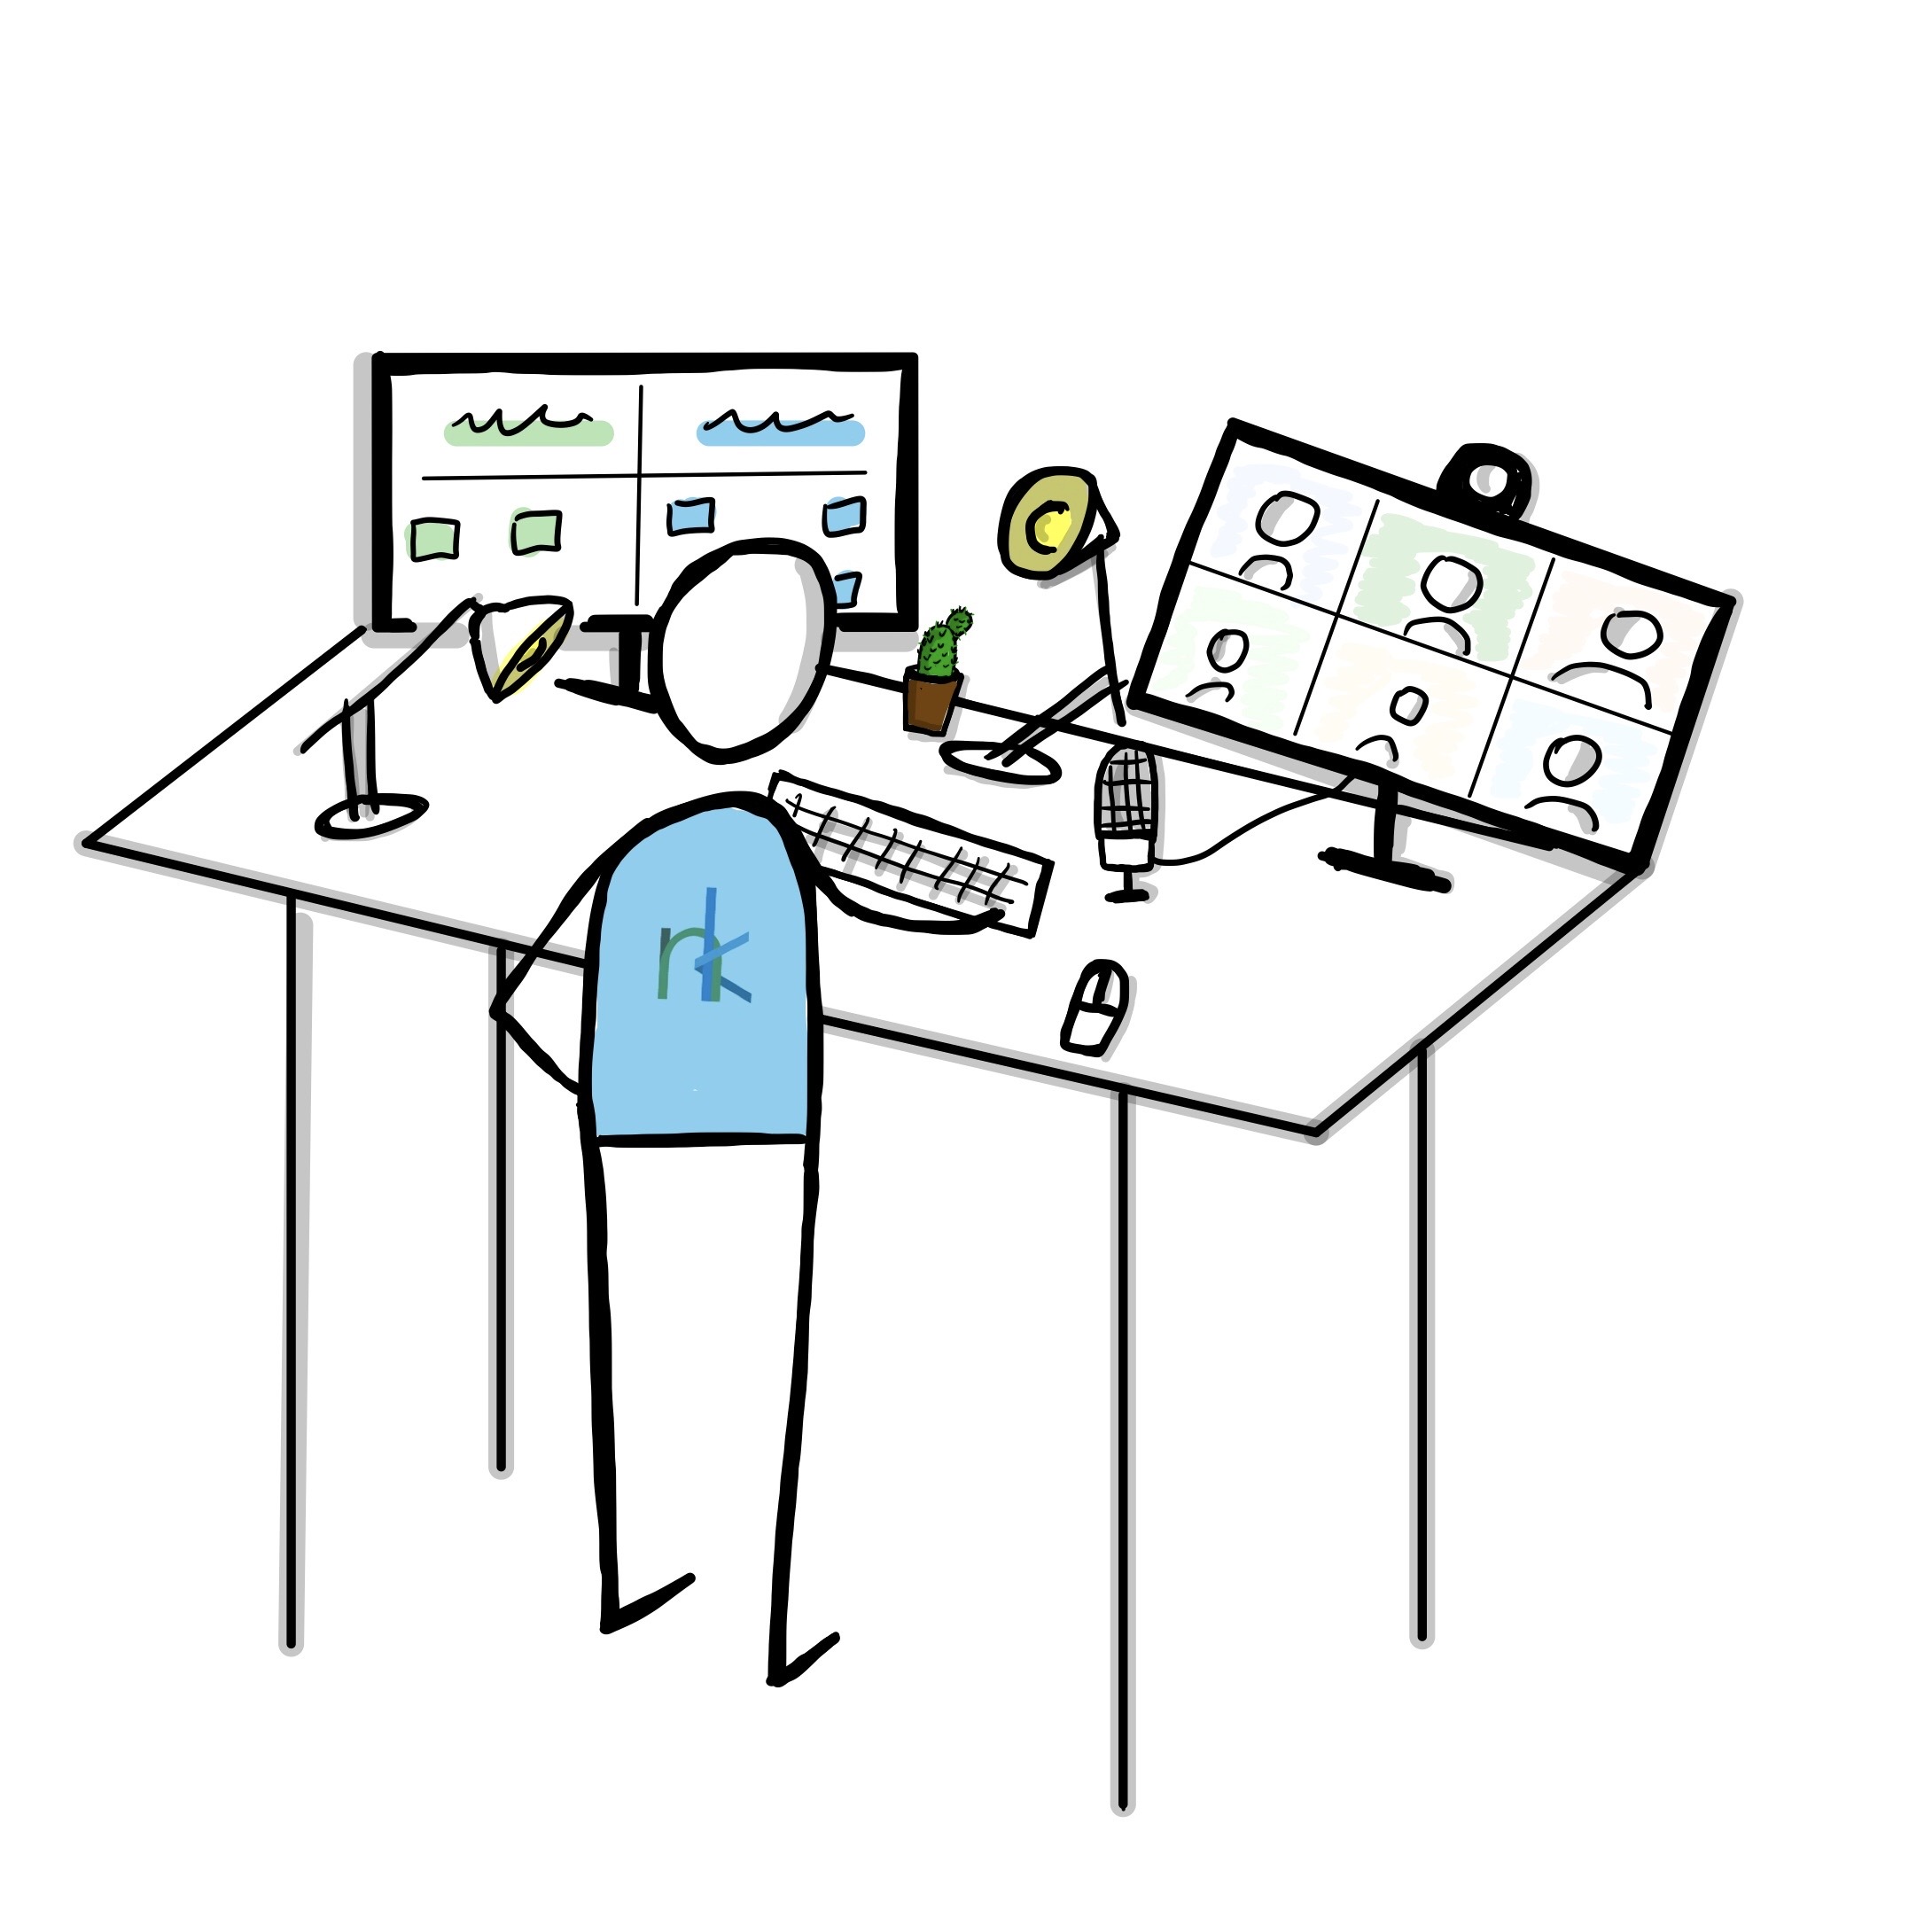
Let’s, for example, think about a workshop within the office building of a client. The participants arrive early, go to their desks, hang their coats and get a cup of coffee. They already start chatting with one another about the weather or even the upcoming workshop. They walk past the big meeting room, maybe see me, as the facilitator going through my notes for the last time and see that the layout of the room is different than usual. Someone has already taken a seat or has just put down their notepad on a chair to reserve a good spot…
«Deliberately set the right stage for a remote workshop, before the workshop has even started»
One can say that most of what I have described happens automatically but all of it is part of the workshop design and helps set the stage for a productive session, and of course all of them I can deliberately think about. In the following I would like to share with you five tips for being able to exactly enable those emotions in remote settings. Most of it happens before the whole session has even started.
Tips for how to set the stage for a remote workshop
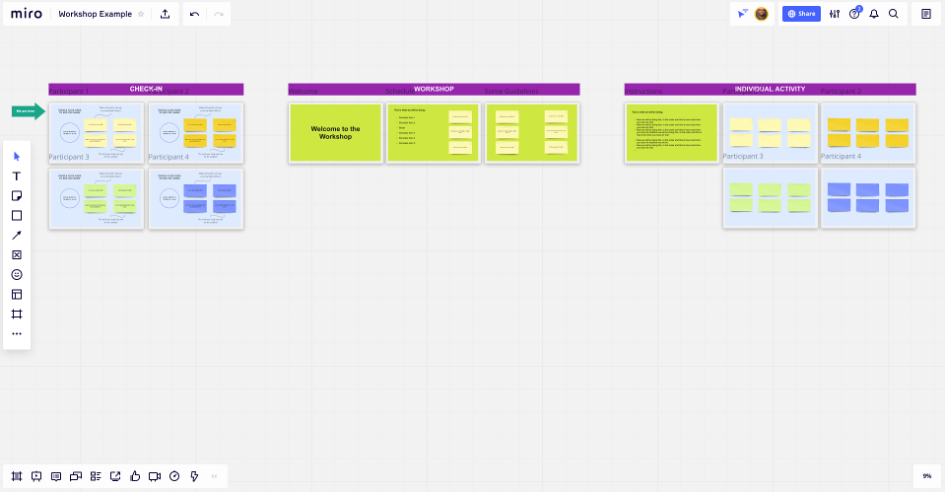
Tip #1: Prepare the digital whiteboard*
Although I know that you are preparing the actual workshop anyhow, I recommend doing this at least three to five days before the actual workshop, not just for personal preparation but also for sending it to the participants beforehand (see Tip #2).
Have a clear visual structure, in most cases arranging everything from left to right simple does the trick and clearly make the starting point on your vast whiteboard. This will make it easier for the participants to follow you along and navigate on the digital whiteboard during the workshop.
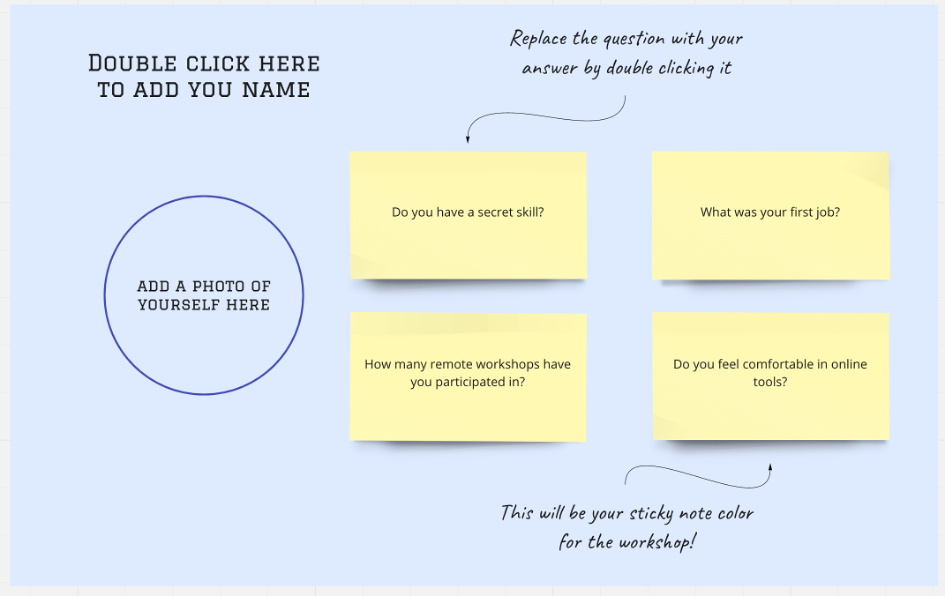
I already include a tiny exercise for the participants in this pre-workshop information message. I prepare an area on the digital whiteboard, upload a personal picture of me and share some fun facts about me in the line of ‘what my first job was’ or ‘which secret skill I have’, and ask the participants to do so, too (also see Tip #2). This requires everyone to check out the tools that will be used and gives me the confidence that everyone has already opened them before the workshop. This saves time for the actual workshop and is a good starting point for the entire workshop as a check-in (see Tip #5). Thereby, you also provide the participants with your contact details early on, if they have technical difficulties or anything else.
And don’t forget to lock all the elements on your whiteboard that you don’t want your participants to edit, move around, or delete.
Tip #2: Send out onboarding email**
Take the time to prepare an onboarding email for all participants including the workshop schedule, explaining the tools that are going to be used, and prompting the participants to set them up – this saves time for the actual workshop and simultaneously the participants already started to think about the upcoming remote session. Sometimes it is good to send out a little last-minute reminder one or two days before the workshop as well.
Additionally, you can ask them to have some snacks and drinks around. If the workshop budget allows it, you might also consider sending them to their homes.
Tip #3: Be prepared
Don’t think you can solve a technical problem on the spot. Be prepared. Think about some possibilities that could happen and what you can do to solve the issue when a technical problem arises on your side or with one of the participants, like having an extra pair of sticky notes or pens in your bag. If you can, have a colleague as a technical co-host nearby in case there are issues to be solved along the way — especially if it comes to sessions with more than 20 participants.
Most providers enable anyone to either participate via a computer or the mobile phone or even to dial into the call. The latter two situations still require you to be able to have an idea, how to include them easily in the entire workshop.
Tip #4: Get on the call early
Go online at least 10 minutes before the remote workshop officially is about to start, in order to welcome the early birds and already start chatting with them a little bit, just like in an in-person workshop setting.
Tip #5: Get people talking
Think about someone who lives by him-/ herself and is about to attend your 9 am ‘Design Sprint’-workshop. He/ she might not have talked with anybody yet when the webcam turns on, as he/ she didn’t have her commute, the little exchanges about the weather while hanging her coat, or the chat at the coffee machine in the office kitchen.
Here you can make use of the pictures and the personal information everyone has already provided (see Tip #1) or use an open Check-In/ Icebreaker question to help everyone arrive in the remote setting.
I have made good experiences with groups of up to 10 people to let everyone speak at the beginning of my sessions to establish a room of safety and give the opportunity to bring awareness to the group. The bigger the group gets the least likely it is to give everyone time to speak. Instead, I like using tools such as mentimeter.com that also help to connect the participants and bring focus to the upcoming workshop.
All five tips serve the goal to make the participants feel valued, both for their time and participation. This provides an ideal foundation to facilitate a remote workshop with high levels of energy and engagement in which the participants feel that their time and input are valued. Creating an environment that is conducive to focus and concentration.
What other tips do you have for preparing remote session? What challenges have you had? I’d love to hear from you. Please do not hesitate to reach out if I can help you prepare your next remote workshop or meeting.
* By far my favorite digital whiteboard tool is miro.com
** Optionally you can also add a little explanation video of the tools needed during the workshop. Only focus on the features that will be needed during the workshop – You are not selling the tools. You can reuse these clips for other workshops of course. I can recommend loom.com for this.